Part 2 - A New Beginning...
It wasn't an easy
decision to make, but for the sake of the end product, I didn't want to half-ass
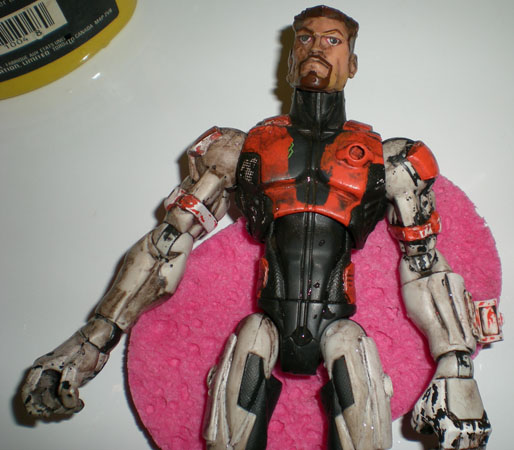
it. I had to start over. Disappointed, I took an
old toothbrush and a container of Varsol and went to town, scrubbing off all my hard work along with all the mistakes I’d made. Unfortunately, it didn’t work out too well, and I was left with a rather messy, unattractive, paint-stained figure.
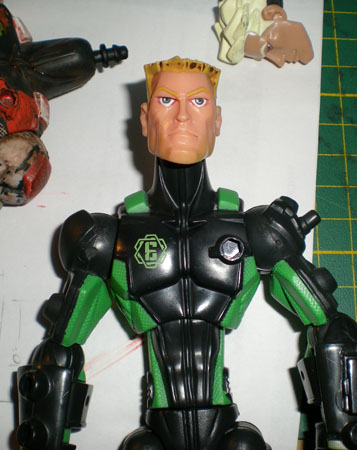
At this point, I figured since I was starting over anyway, I might as well go all the way and do it properly. I went back to the toy warehouse and picked up a Hi-Tech figure. Then, using the ‘boil and pop’ method (for detailed instructions on how to do this, just check out any of the countless figure customizing forums on the web. The
Joe Battlelines forum and the
Hisstank.com forums are a good start) I removed the Arctic Duke head,
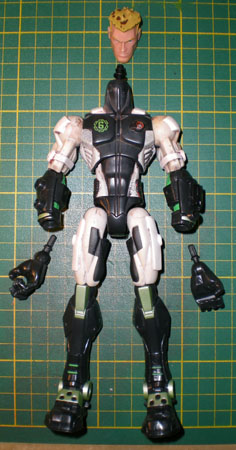
cleaned it separatey, and transplanted it onto the Hi-Tech body. He looked a little too skinny, his neck too long and
body too slim for the head. Maybe if I was making a Gordon Freeman bobblehead, it’d have been okay, but otherwise… no.
I decided to try again to clean the figure, this time with a Varsol bath.
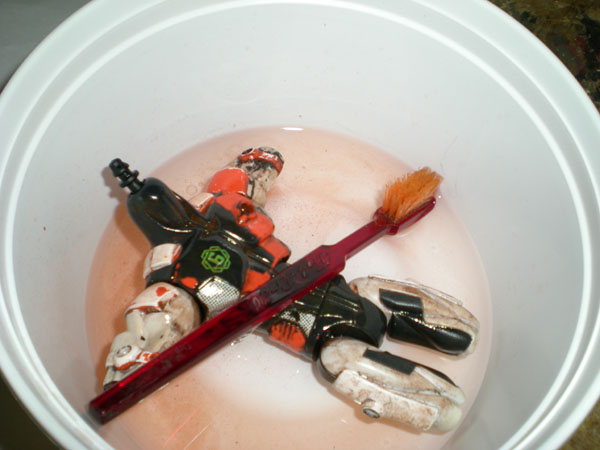
I scrubbed and scrubbed and eventually managed to get most of the paint off. It
wasn't perfect, but was good enough that I’d be able to paint it without getting all sorts of weird raised spots.

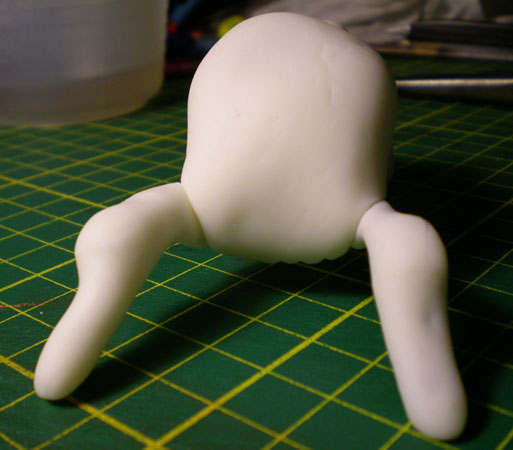
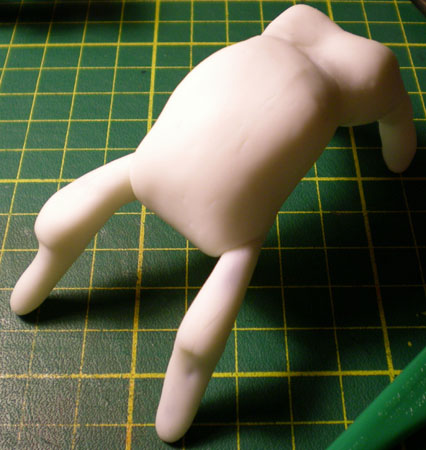
When the torso was clean, I spent some time boiling and popping the forearms and lower legs off the Hi-Tech figure and attaching them to the Duke torso. I also replaced the head.
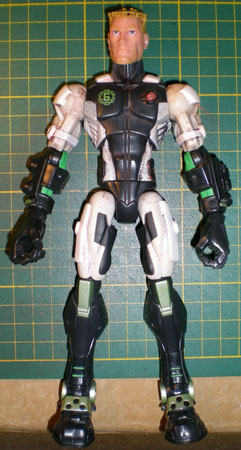
Once I was satisfied with the way everything looked, I gave the figure a bath in some warm, soapy water to get rid of any
Varsol, oil, grease or factory mold release that might be clinging onto the newly installed parts.

Then, I popped off the parts that I didn’t want to
accidentally paint, namely the head and hands.
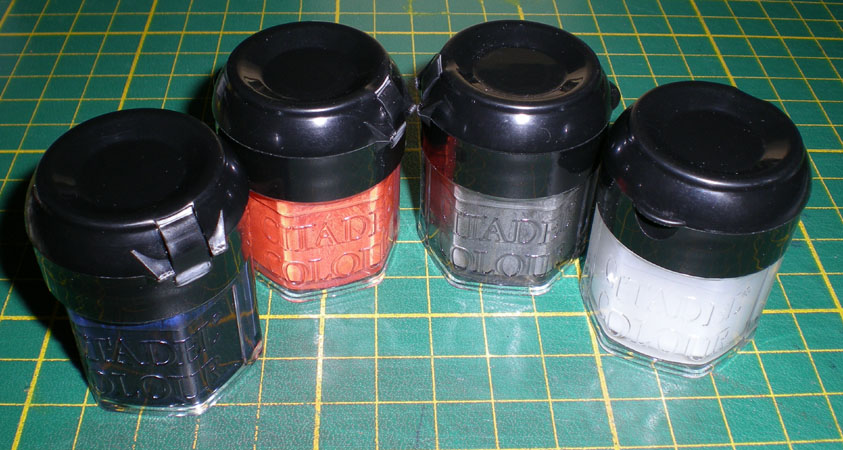
Finally, with the canvas clean again, I was ready to start
fresh. I went down to the nearest Games Workshop and picked up some Citadel paints. I’m not sure if that’s ironic or not, but anyway, these are acrylic paints, which adhere better to the plastic of the figure. They are also water-soluble, meaning I no longer have to clown around with Varsol or other harsh solvents to clean my brushes and things.
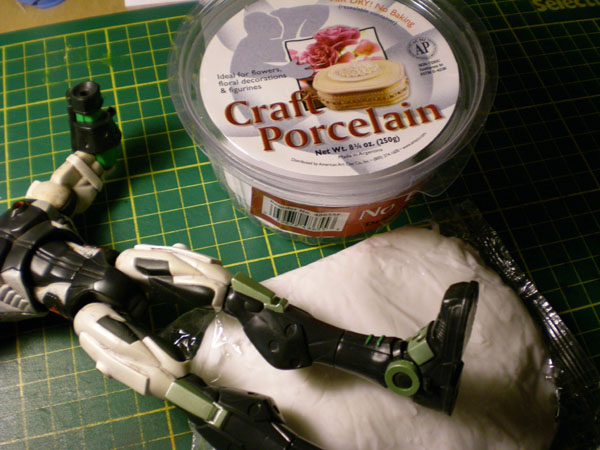
I also picked up some new sculpting compound called Craft Porcelain from my local Michael’s. It was a little pricey compared to Model Magic, but I decided to give this stuff a try after reading about it online. It seemed pretty good, and was definitely more respectable than Model Magic, in any case.
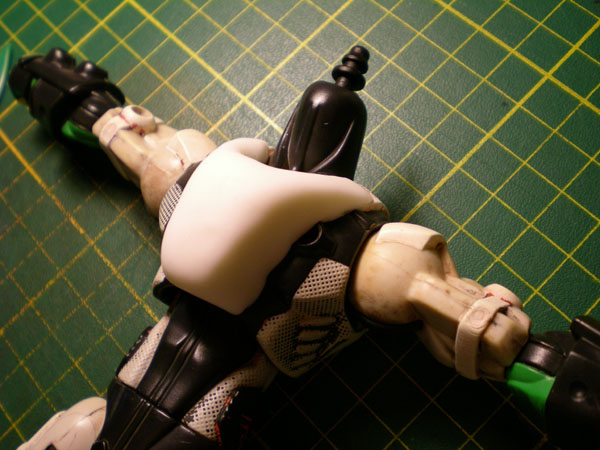
I decided to make the chest piece before painting and just slapped the Craft Porcelain onto the figure and started molding. It tended to sag and droop slightly, though, so I had to work with the figure lying on its back. I also made it a little bigger than necessary to counteract any shrinking that might occur as it dries. I’d read it shrinks about 10%, so I needed to make sure it would still
fit afterwards.
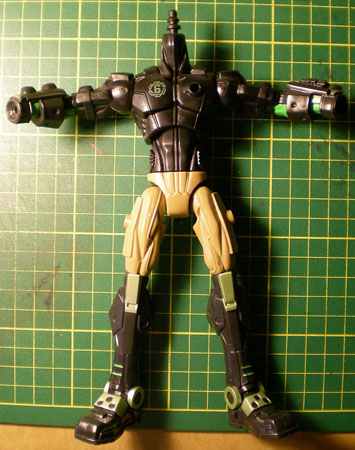
The day after I'd
sculpted the chest piece, I went out shopping and managed to snag a Frontal
Assault Duke for $13! After plundering his accessories, I removed his head and
replaced his arms and legs with the ones from Hi-Tech. Finally, the ideal
combination!
Next, I took some of the Craft Porcelain and filled in the plug hole on his
chest.

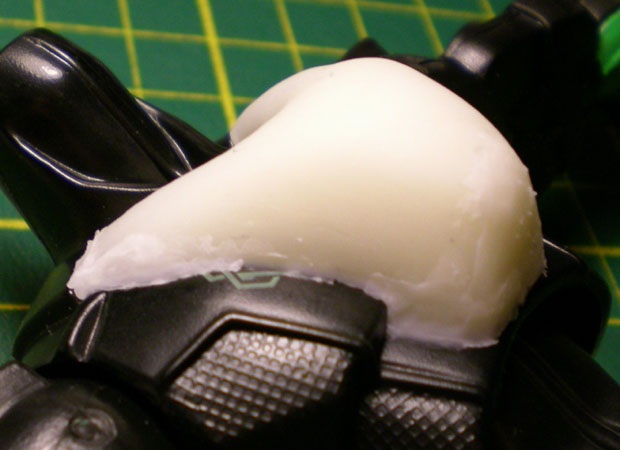
I
also sculpted a new chest piece since the old one shrank a little too much after
I removed it from the chest to dry. This time around, I used less material and
thinner layers so it would (hopefully) dry more evenly. I took a pinch of Craft
Porcelain, rolled it into a smooth ball so that there were no cracks on the
outside and so air bubbles inside were kept to a minimum. I squeezed it into a
rough Y-shape and went to work.
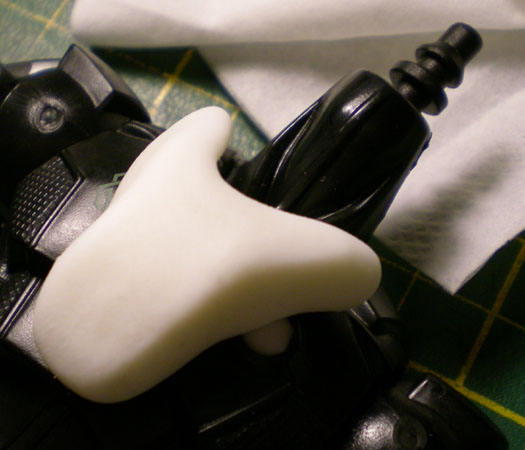
Very carefully, I smoothed it onto the chest and shaped it using a plastic
Crayola sculpting tool that I got in a bundle with the Model Magic I'd used
earlier.
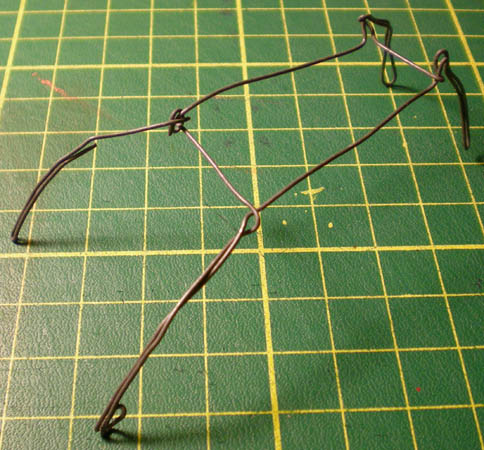
While
that was drying, I decided to try my hand at making a headcrab accessory for the
finished figure. After grabbing some screenshots as references, I took some
floral arrangement wire and made an armature.
Then, using more Craft
Porcelain, I wrapped it over the armature and smoothed it down into shape.
Now, I'm not an expert in xenomorphic anatomy, but I don't think this looks half
bad. The proportions are a little off, but it's in scale with the figure, and
gets the general idea across. It also fits onto a Sigma figure's head! I deliberately didn't go insane with the detail on
this because I wanted to keep the simple, Saturday-morning-cartoon feel of the
figure. I may get a bit creative with the paint job, though.
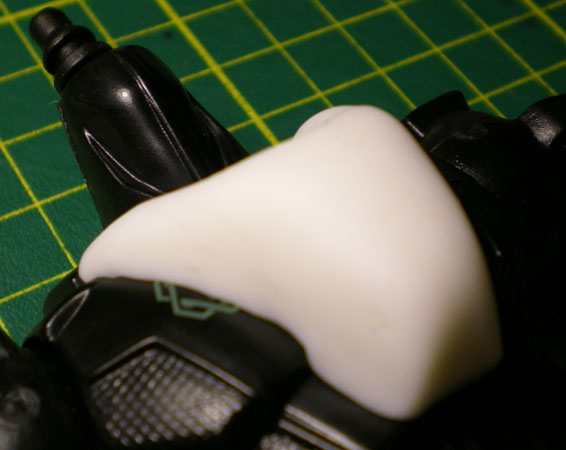
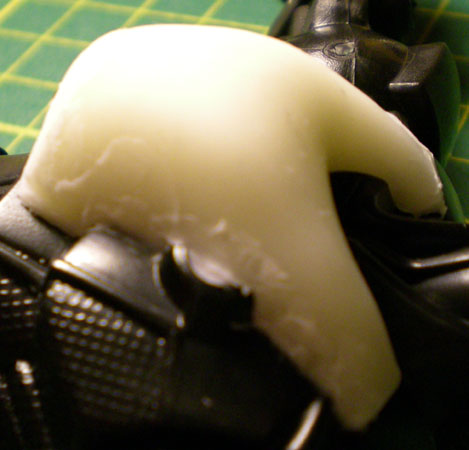
Next,
looking back at the chest piece, I noticed that as it dried, the edges started
to peel away from the figure's chest, leaving unsightly gaps that I didn't like.
So, I went back in and filled them with more Craft Porcelain, spreading it out
as thinly as possible with the sculpting tool.
At
this point, I still wasn't sure if the Craft Porcelain could be sanded, so I
took the old chest piece and tried out different grits on it. The only two grits
I had on hand were P60 and 600, basically one at each extreme end of the
spectrum. The P60 was way too coarse and left deep scratches in the dried Craft
Porcelain. The 600 was too fine and barely did anything, but if I applied enough
pressure and went over the same area enough times, it was okay. I think a 180 or
220 grit would have been ideal. Still, I managed to sand the piece smooth to the
touch, if not to the eye.

<< Back
to Part 1
Continue to Part 3 >>