Part 3 - Painting, Take 2
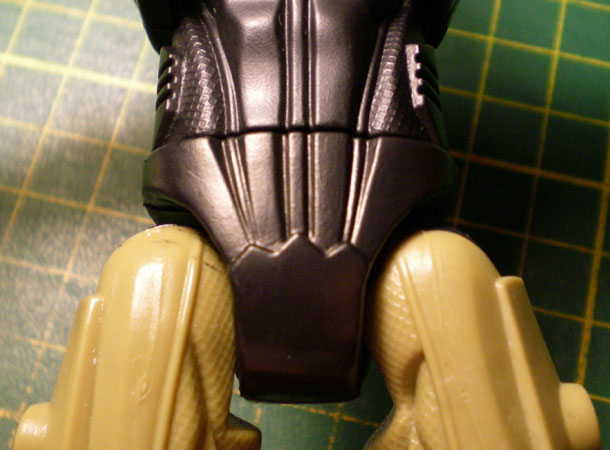
When the filler shrank as well, I put some more in the gaps and while that was drying, I started painting the other parts that needed it. First up was the waist/crotch. I was so thrilled that the Citadel Colour 61-51 'Chaos Black' matched the factory black of the figure. When the paint was dry, I brushed on some Citadel Colour 61-86 'Matt (sic) Varnish'
Then the underarms and the armour bits on top were done with Citadel Colour 61-57 'Boltgun Metal' and 61-07 'Blazing Orange', respectively, and sealed with a coat of varnish.
For those of you following along at home, here are a few paint-saving tips for you, based on first-hand experience.
1) Don't screw up - Nothing wastes more paint than having to start a
project over again.
2) Use a small brush - A smaller brush is great
because it soaks up less paint (which eventually dries and gets washed off) and
it also won't scrape the
paint off
areas you've already covered, the way a larger brush can.
3) Don't dip the whole brush - You don't need to
drown your brush in the paint jar, just use the tip. This will also give you
better control, minimizing
screw-ups.
4) Wipe off the excess paint on the rim of the jar
before applying - Multiple thin coats uses less paint than one thick one, and
applies more evenly too.
5) Protect your work - Using a varnish or sealer
will protect your work from small chips and scrapes, meaning you won't have to
re-apply paint as often.
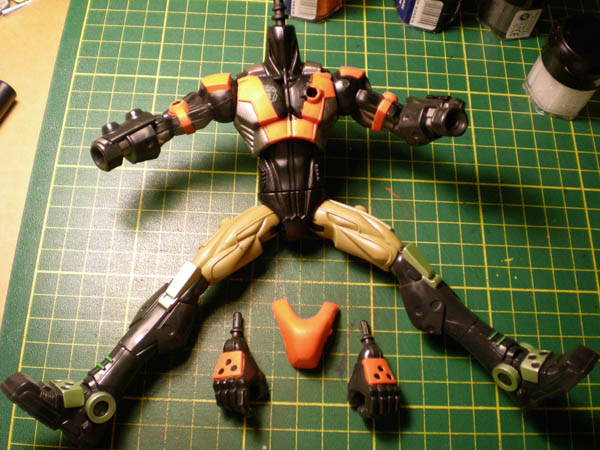
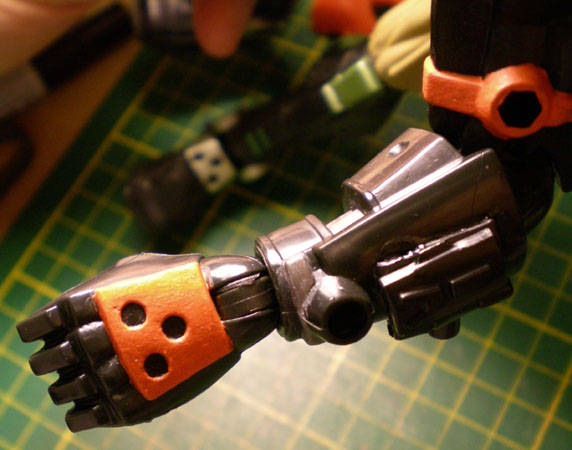
Next came the hands, upper torso and chest piece, painted with Blazing Orange and sealed with varnish.
At this point, I decided to put the hands back on, since I was pretty sure I was done with them, and wouldn't accidentally paint over them. I boiled the forearms and popped the hands back into place. I was happy to find that the boiling process had little effect on the paintjob on the forearm. The varnish melted and ran a little, but eventually cooled and remained more-or-less in place.
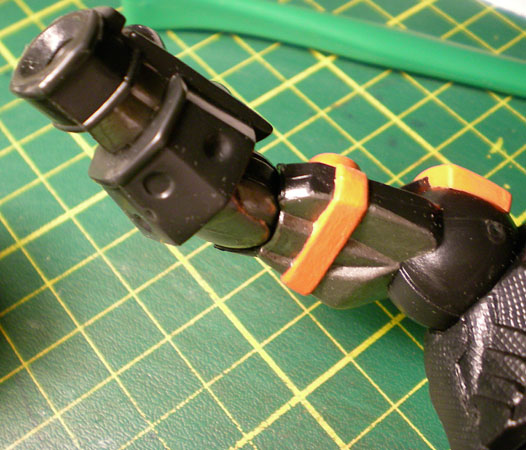
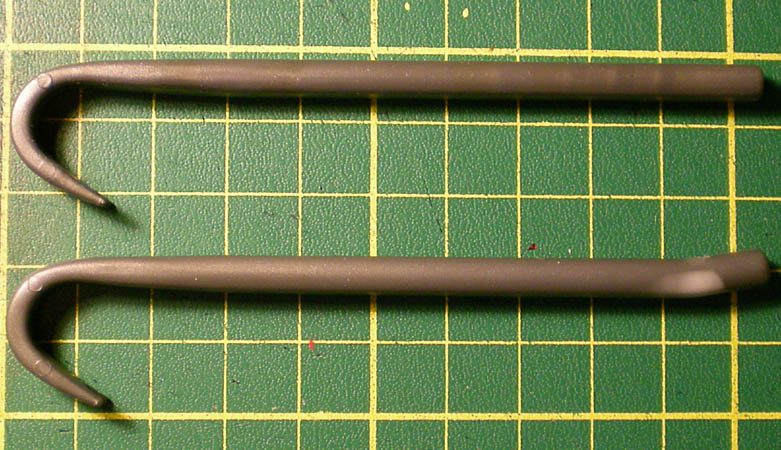
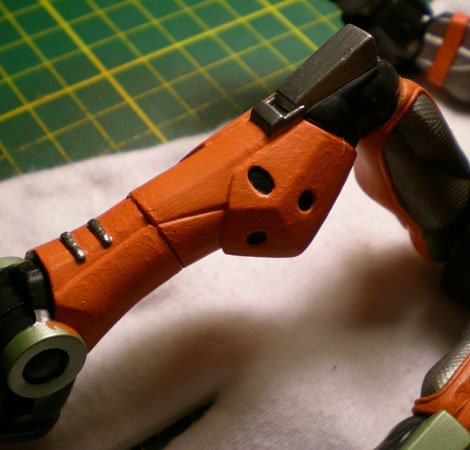
Also, since I had the boiling water out, I decided to modify the crowbar a little to make it more game-accurate. I dipped the striaght end into the water, then used a pair of needle-nose pliers to bend it a little. The top one is the before, the bottom is the after.
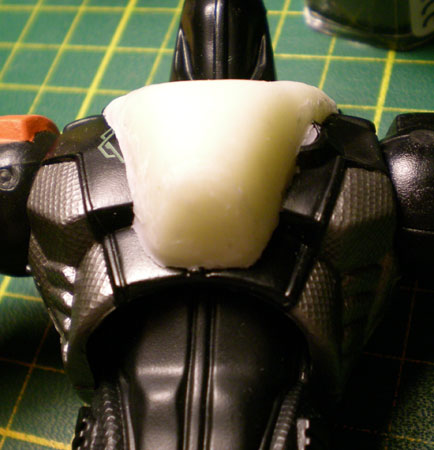
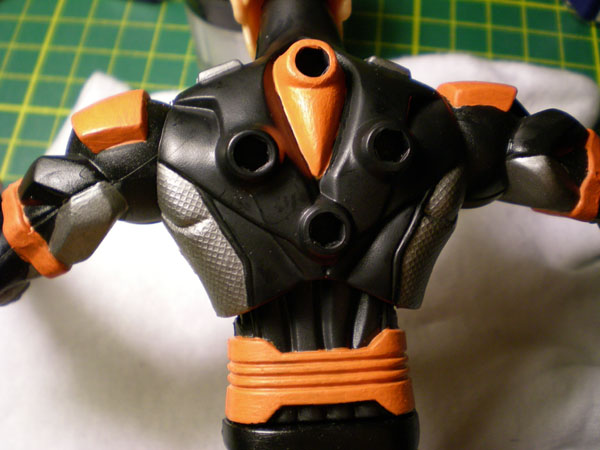
With the front of the upper body all but finished, I turned my attention to the back, painting the top plug hole and the wraparound-thing on the waist with Blazing Orange.
Then, came the most important part of the suit... the lambda logo on the chest. I made a stencil with paper, cut it out with my X-Acto knife and then lightly taped it into place.
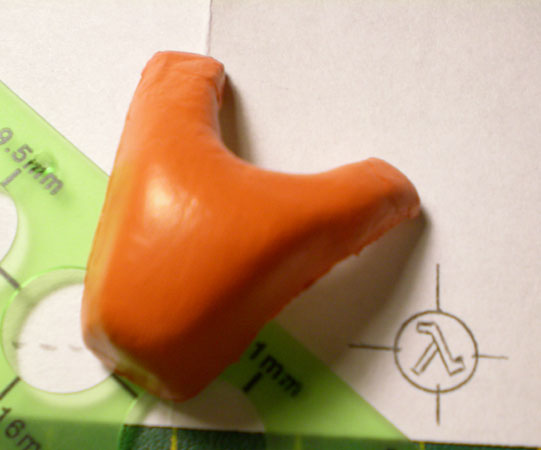
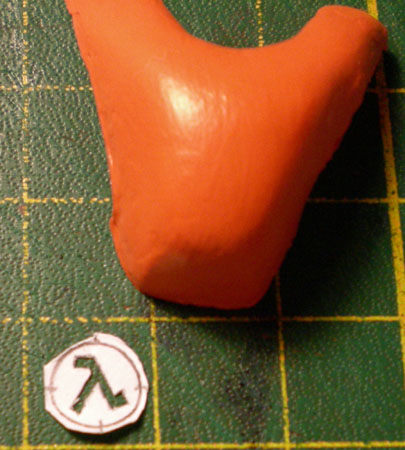
However, when I painted it using Testors 1169 Flat Yellow (Yes, I went back to enamels, but only because it's such a small part that I didn't want to spend $4.25 on a jar of yellow acrylic), it ended up a little lopsided.
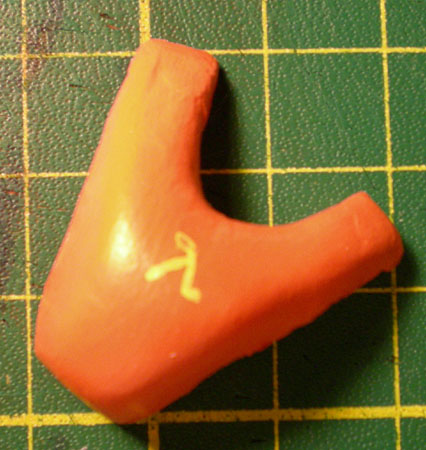
So, I did away with the stencil, painted over the spot and decided to try it freehand.
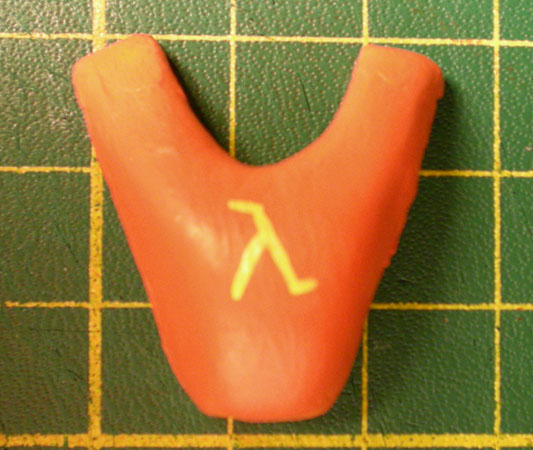
There we go! I also made it slightly larger, and therefore easier to see. I also took a page from the Star Trek Animated Series' lexicon in doing so, since the animators found it easier to draw the insignia when it was larger than on the live-action series. For the same reason, I forwent painting the circle around the lambda. When the paint dried, I gave it a good once-over with varnish and moved on to painting the head.
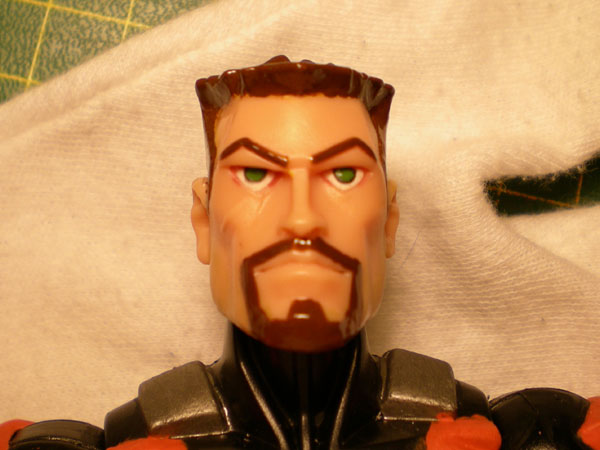
The head was pretty straightforward, since I just repeated what I did last time. Good to see you, Gordon. It's been too long. In the above pic, I haven't dotted his eyes or given his hair the varnish treatment yet, which is why it still looks so shiny. Anyway, after that, I painted the thighs...
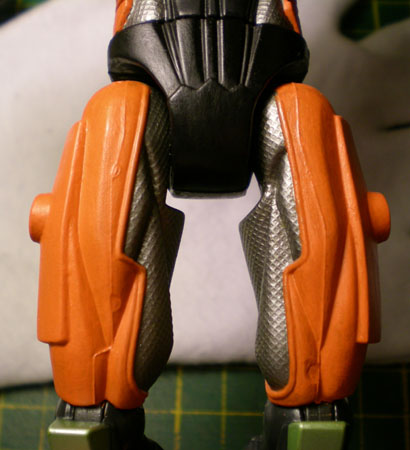
... The lower legs...
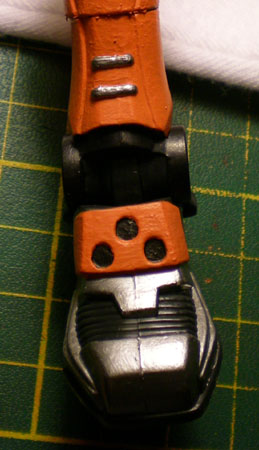
... And finally, the boots.
<< Back to Part 2 Continue to The Finished Product >>