Part 3 - To Arms! To Arms!
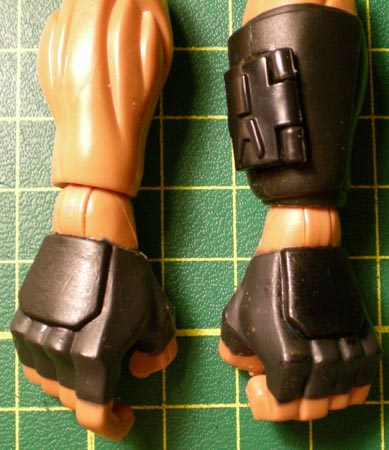
Atrocious puns notwithstanding, I moved on to the arms next. I painted the backs of his gloves with Chaos Black.
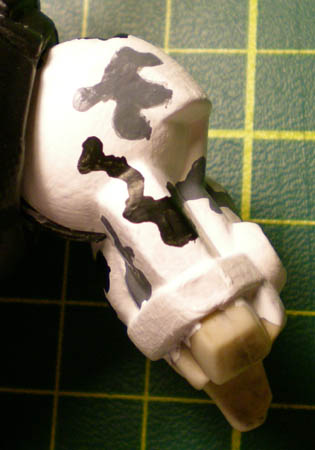
Then, since I didn't have the white paint I needed for the upper arms yet, I side-shifted into the sculpting phase. I started with the gas mask, using Craft Porcelain to cover the face and build up the respirator mount.
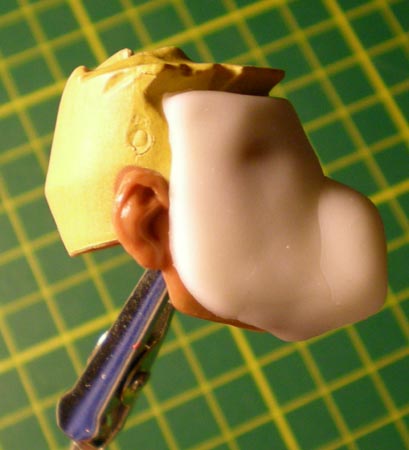
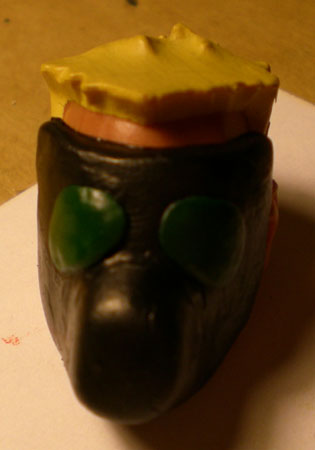
On hindsight, I should have attached the head to the figure before putting on the mask, since I have no idea what effect boiling will have on Craft Porcelain. Maybe once it dries, I can remove it before replacing the head. Otherwise, I'll just have to try it and see what happens. Anyway, when the first application had dried somewhat, I filled in the cracks that had formed using more Craft Porcelain and then added the eye holes. The blemishes visible in the pic below will be sanded out when the entire thing has fully cured.
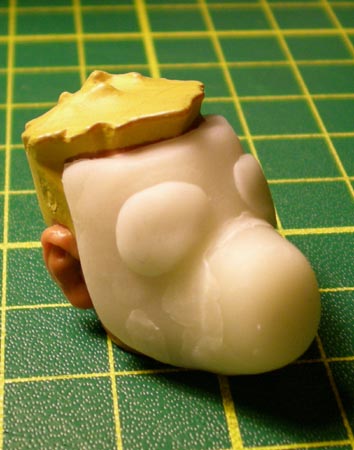
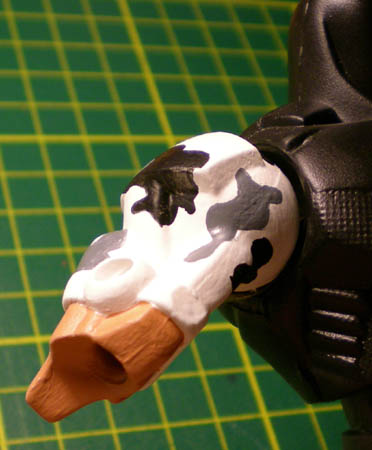
After a few days untouched, the mask had dried nicely and still fit over the face. I sanded down some of the rough spots and gave it a coat of Chaos Black.
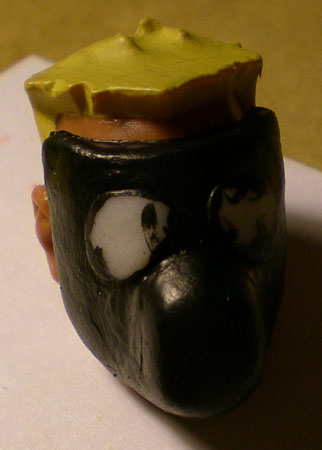
Then, I painted the eyepieces with Testors 1171 Beret Green. Unfortunately, this means that the Corporal's eyes will not be visible, but in the spirit of 'cartoonizing' the figures, they have to be easy to draw. Having no eyes helps accomplish this, as well as giving the entire soldier class a more anonymous, inhuman appearance.
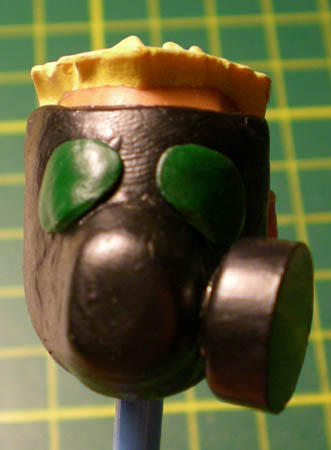
A spent LR44 button-cell battery served as a makeshift filter. I originally tried using Craft Porcelain to cover the embossed letters on the casing, but the layer was too thin and cracked. I ended up using 220 grit sandpaper to sand off the letters. In hindsight, this probably wasn't the smartest thing to do since I didn't know if the battery, or its casing, had lead in it. Luckily since lead is a heavy metal, I don't think I managed to breathe any in, but I made certain to wash my hands thoroughly.

I attached it to the main mask using hot glue, then painted it with Chaos Black.
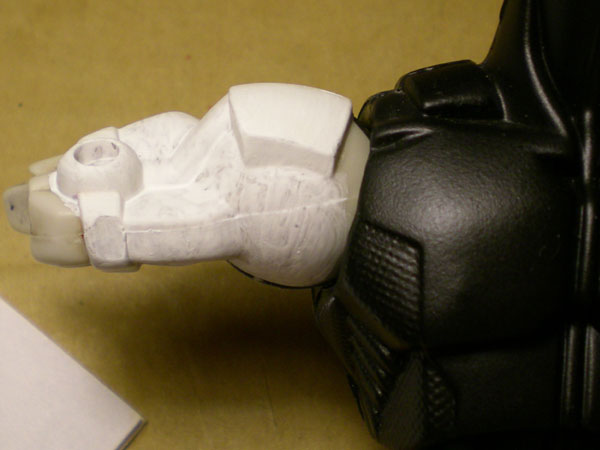
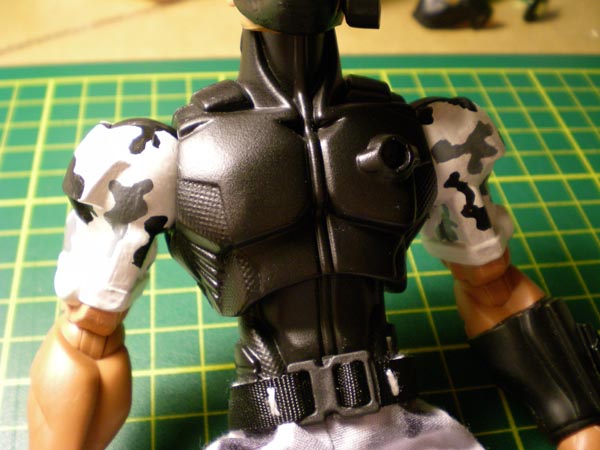
I also began painting the upper arms with some Tamiya Color XF-2 Flat White acrylic paint I picked up during my latest foray into the States. This brand is okay, but it seems quite thin and I needed to use many, many coats to cover the off-white plastic underneath. The image below was taken after about three coats, and yet you can still see the brush strokes and the original colour beneath the paint.
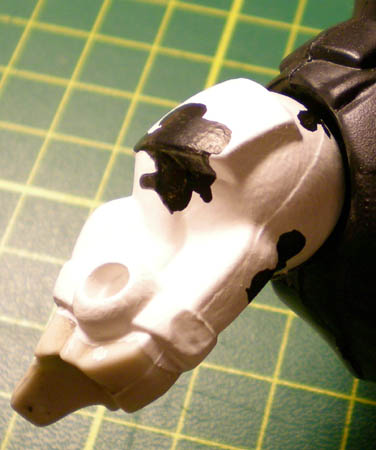
Once the arms were finally covered to my satisfaction, I began to paint the camo scheme using Chaos Black and Tamiya Color XF-66 Light Grey.
Then, I painted the elbows with Testors 1170 Light Tan, before boiling and popping the forearms back on. I then sealed the arms with matte varnish.
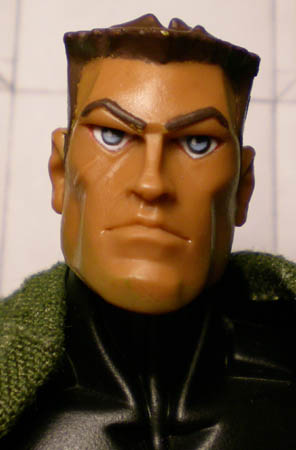
With the arms finished, all that was left were the head and helmet. I used Tamiya Color XF-10 Flat Brown to paint the hair.
The helmet was the trickiest part, so I saved it for last. Eariler on, I'd tried sculpting one out of Craft Porcelain, but it sagged and lost its shape too easily. The PASGT helmet Adrian wears is not an easy shape to capture so I had to enlist a little help. Luckily for me, Father of Liberty, over at the Joe Battlelines forum was able to help me out. He hooked me up with a Gung Ho helmet and a GPS unit from Adventure Team Storm Shadow.

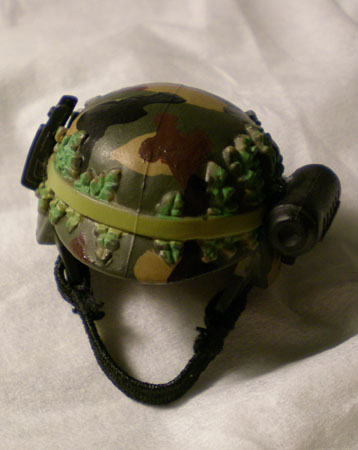
There was already some paint on the helmet from someone's earlier attempt at a camouflage paint job, which helped me immensely. I just added some Tamiya Color XF-10 Flat Brown and Chaos Black to complete the pattern.
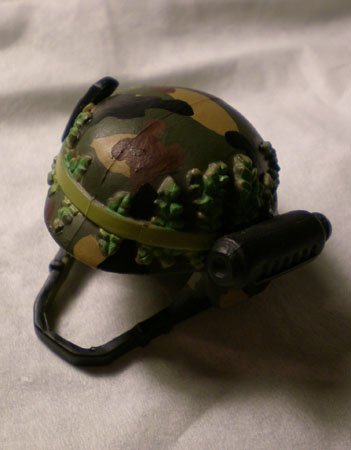
I ran into some problems when I tried to put the helmet on, however. The molded rubber chinstrap was placed in such a way that held the brim of the helmet too low over the eyes, making it look like Adrian was struggling to peer out from underneath. So, I had to perform some minor surgery. Using an X-Acto knife, I cut off the chinstrap while leaving the loops that connected it to the helmet itself. Then, I used some black elastic to make a new, adjustable strap.
<< Back to Part 2 Continue to The Finished Product >>